OpenFin Test on Testable
Introduction
Check out the Getting Started with OpenFin guide for a quick introduction on how to run your test script. Also check out our Selenium overview guide to better understand how Selenium tests run on Testable in general.
This document goes into further detail on the various options provided for running OpenFin test scenarios.
OpenFin tests can be written with a variety of the Selenium bindings that Testable supports. We provide an example project: openfin-wdio-testable-example.
The example shows a Webdriver.io example for testing your OpenFin application. For the most part this is no different than any other Webdriver.io test but as part of the capabilities you pass the testable:options -> openfinConfigUrl value to tell Testable which app config json to use to launch your application before your test starts.
capabilities: [
  {
    browserName: 'chrome',
    'testable:options': {
      openfinConfigUrl: 'app_sample.json' // a relative path within your repository or uploaded files OR an http(s) url
    }
  }
]
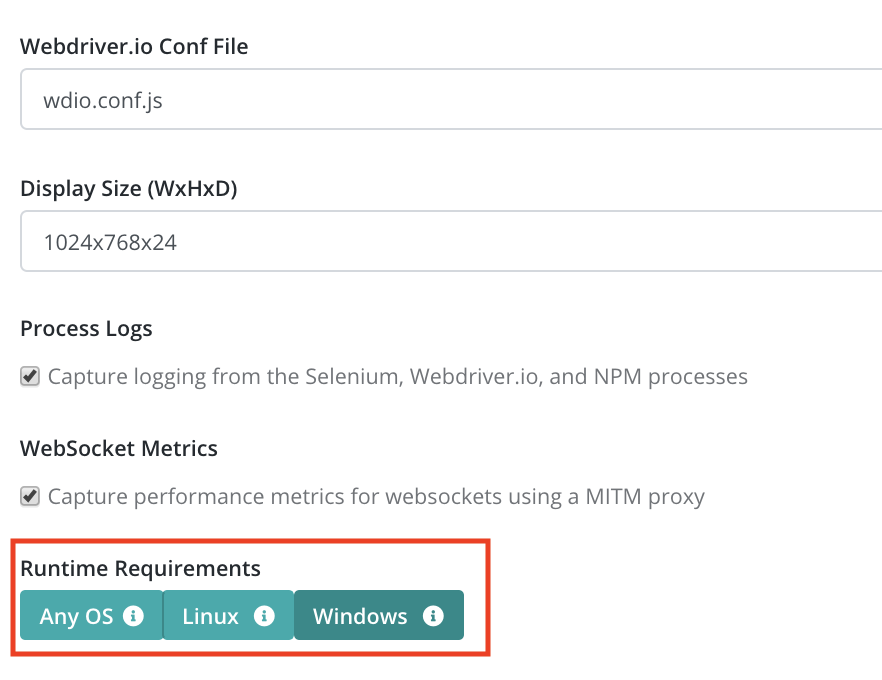
To run on Windows:
Chromedriver | OpenFin Version Mapping
Testable takes care of automatically launching the right version of Chromedriver by inspecting your OpenFin config file for the runtime version number and launching the corresponding Chromedriver version. Please refer to the OpenFin versions page if you’re trying to figure out which version to use for local testing.
Steps on Testable
When your test runs on Testable, the following steps happen:
- OpenFin launches your app based on the config url/file provided. It sets the remote debugging port to a pre-determined free port.
- The chromedriver version corresponding to the OpenFin runtime version your app runs on is launched. If it’s not currently available on the test runner, it will first be installed.
- When your test creates a Selenium session, Testable will inject the correct Selenium remote url corresponding to the launched chromedriver and the
debuggerAddressthat corresponds to the OpenFin app.

