PhantomJS and SlimerJS Overview
- Introduction
- Create Scenario
- Script Types
- Testable Utils: Custom metrics, logging, CSV files
- Page Close
- Data Upload
- Parameters
- Screenshots and Other Output
- Local Testing
Introduction
Testable has support for executing PhantomJS and SlimerJS scripts in a globally distributed fashion.
Check out the Getting Started with PhantomJS guide for a quick introduction on how to run your test plan.
This document goes into further detail on the various options provided for running PhantomJS or SlimerJS scripts.
Creating a Scenario
There are two ways to create a PhantomJS or SlimerJS scenario:
- Create a new Test Case (Create Test button on the dashboard or Test Cases -> New… on the left nav), select PhantomJS or SlimerJS Script during step 2.
- Go to an existing test case and click on the Scenario tab. Click the New Scenario button and select PhantomJS or SlimerJS as the scenario type.
Script Types
Once you create a PhantomJS or SlimerJS Script scenario you have 3 different Script Type options.
Option 1: Load URL in browser
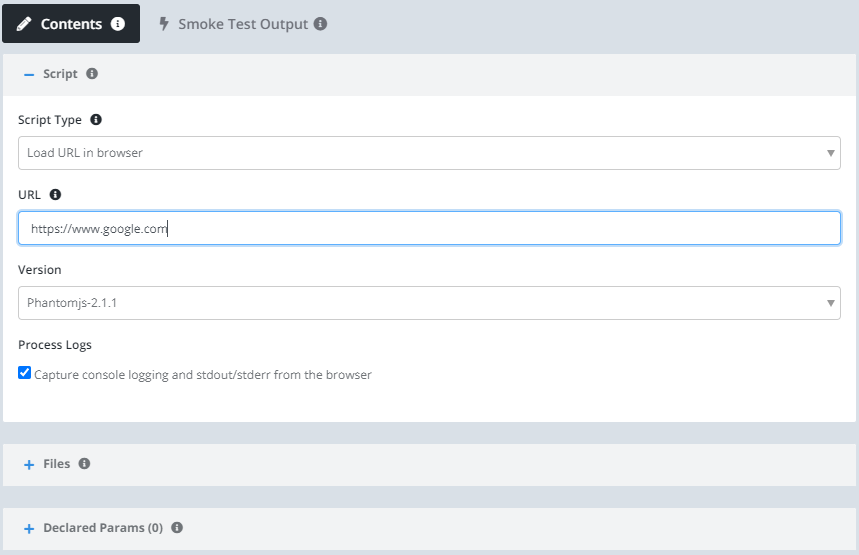
If you simply want to load a URL in a PhantomJS headless browser then this is the best approach. It will generate a PhantomJS script for you that looks something like:
const page = require('webpage').create();
page.open('${page}', function() {
  phantom.exit();
});
The script opens the URL and when the page is loaded it exits the PhantomJS process.
Option 2: PhantomJS or SlimerJS script
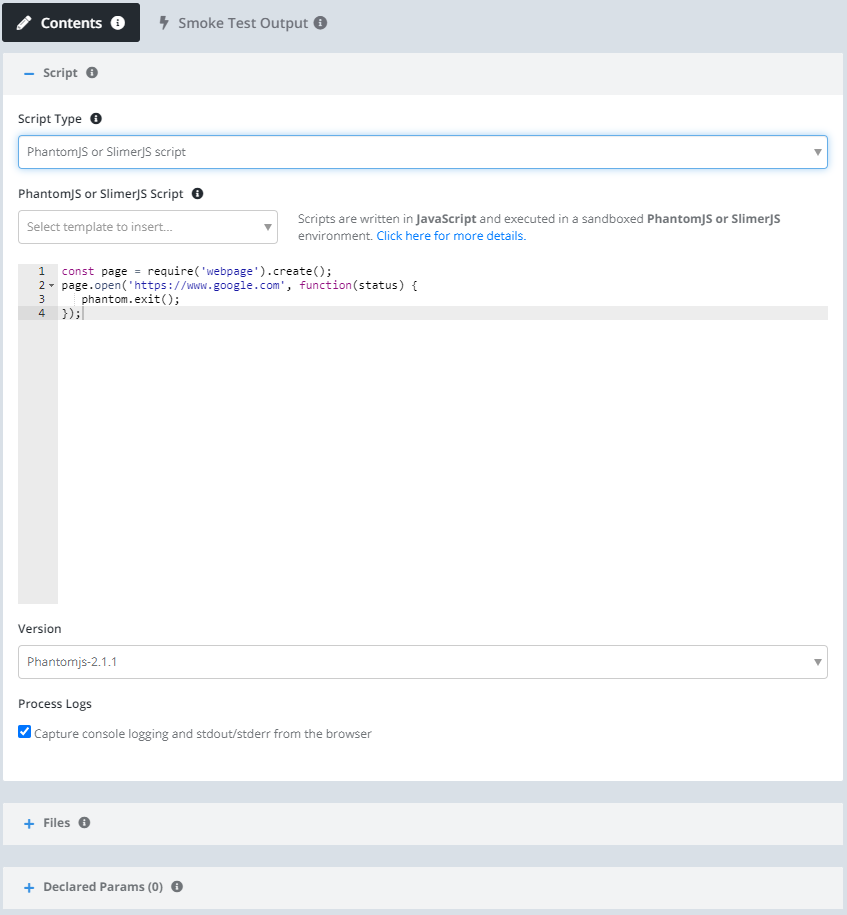
If you want to write your own PhantomJS or SlimerJS script simply select this option and paste it in the code box. A few templates are provided to make it easier to get started as well. Whatever script you define here will be executed as your scenario.
Option 3: Code to execute in browser
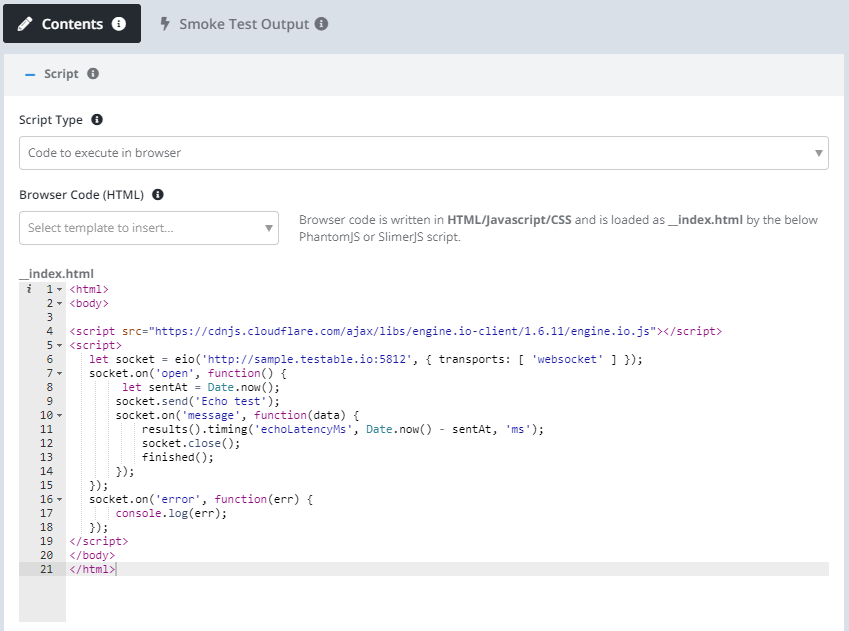
Choose this option if you want to execute some code in a browser. Specify the code (HTML/Javascript/CSS) in the code box or use one of our templates to get started. Anything that will execute in Chrome should work here.
The PhantomJS script then simply opens this webpage. The script is exposed so you can edit the default behavior as necessary.
Testable Utils: Custom metrics, logging, CSV files
The testable-utils module is available within your script. See the module documentation for more details on the API which includes custom metrics, logging, reading from a CSV, and more.
const log = require('testable-utils').log;
log.info('some message here');
Page Close
Within your PhantomJS or SlimerJS script you can call phantom.exit() or page.close() when the page has finished loading and all relevant code has executed.
From within the page, use window.finished(); to indicate that the page can be closed and the test can move onto the next iteration.
Data Upload
Any file uploaded in the Data section will be available in the same directory as your PhantomJS pr SlimerJS script during test execution. So for example if you uploaded an index.html file you can access it in your PhantomJS or SlimerJS script (e.g. page.open(‘index.html’)).
Parameters
In some situations you may want to use the same script across multiple Test Configurations. In this case there may be certain parameters that need to be different for different configurations.
To define the parameters, use the Params section on the Script page. You can manage the expected parameters here.
To use a parameter in your script use the following syntax:
params[paramName]
OR
process.env.PARAMNAME
Now create a new Test Configuration (it is one of the actions in the upper right of the Script page) and you will be prompted to specify values for any defined parameter. The value can also be passed via API.
Read more about scenario parameters here.
Screenshots and Other Output
To capture a screenshot of the page:
page.render('myscreenshot.png');
The screenshot will be available in the test results in the Results -> Files section. Other output files can be captured using the fs module.
The directory in which these files are written are accessible via the outputDir variable.
Local Testing
If your script references Testable APIs you cannot simply save it locally and run it. You’ll need to make sure to include our stub implementation of our APIs which print to the console.
First download https://testable.io/js/testable.phantom.js and save it locally.
In your test script add the following line at the top:
phantom.injectJs('testable.phantom.js');

// The rest of your script as usual
// Note that you can include the phantom.injectJs() call when run on Testable
// It will ignore it and inject our live integration code instead